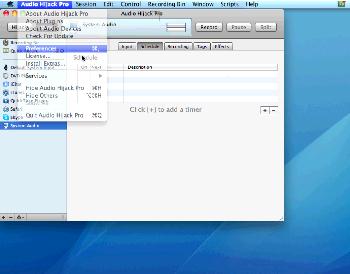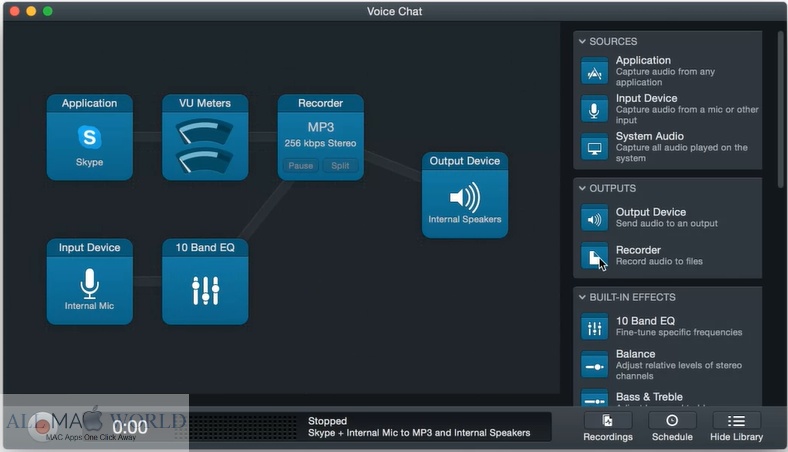

Unfortunately this method does not let you control the volume for them separately. Changing Soundflower's volume will affect them both, so it may be hard to find an acceptable balance between multiple sources. It costs $32, but the level of control and power you have with it is unmatched. The free version is also fully functional, with the only caveat being that it distorts audio after 10 minutes. This can be reset simply by stopping the hijack and restarting it. Not exactly convenient for long stream sessions, but perfect for short recordings. To capture an audio source go to Session -> New (⌘N) or click the + symbol on the bottom left. On the Input tab select your source type (Application, Audio Device, etc.), then choose your input from the dropdown on the right. If you've used LineIn these options should look familiar. You can route your audio to Soundflower easily by just choosing it as your output device.

However, routing it in this manner will prevent you from hearing that audio and having volume control over it, so we'll be using another method. Leave the output device as Default System Output and click the Effects tab. Click a square and go to 4FX Effect -> Auxiliary Device Output. Click Editor and set the device to Soundflower (2ch). To control the volume for yourself only, use the Gain slider on the left side or your volume keys.When you hijack your audio source, you will not only be able to hear it while routing to Soundflower, you can control the volume you hear and Soundflower's volume independently of each other. To control the volume for Soundflower, use the In/Out knobs on the Auxiliary Device Output effect.You can also click Mute on the top left of the window and it will only mute that audio source for you, without muting it for Soundflower.

This will also affect the playback volume for you. To actually capture the audio, make sure your application is running or device is connected. You then "hijack" it by selecting it and pressing ⌘G or clicking Hijack on the top left of the window. Pressing ⌘R will start the hijack and record to a file (use the Recording tab to configure settings), and pressing it again will end the recording without stopping the hijack. Want a Skype or Mumble call in your stream too? Auxiliary Device Output works for this as well, but there is an extra step. By default, VoIP applications like Skype have incoming and outgoing audio streams. This is for your mic audio (outgoing) and other people's audio (incoming).
#Audio hijack free mac pro
#Audio hijack pro mac free pro#Īudio Hijack Pro will capture both of these by default.
#Audio hijack free mac software
If you route your mic audio separately your voice will have an echo for streaming the VoIP software too. If you route only the VoIP software then your stream viewers will be unable to hear you if the call drops or is ended.


 0 kommentar(er)
